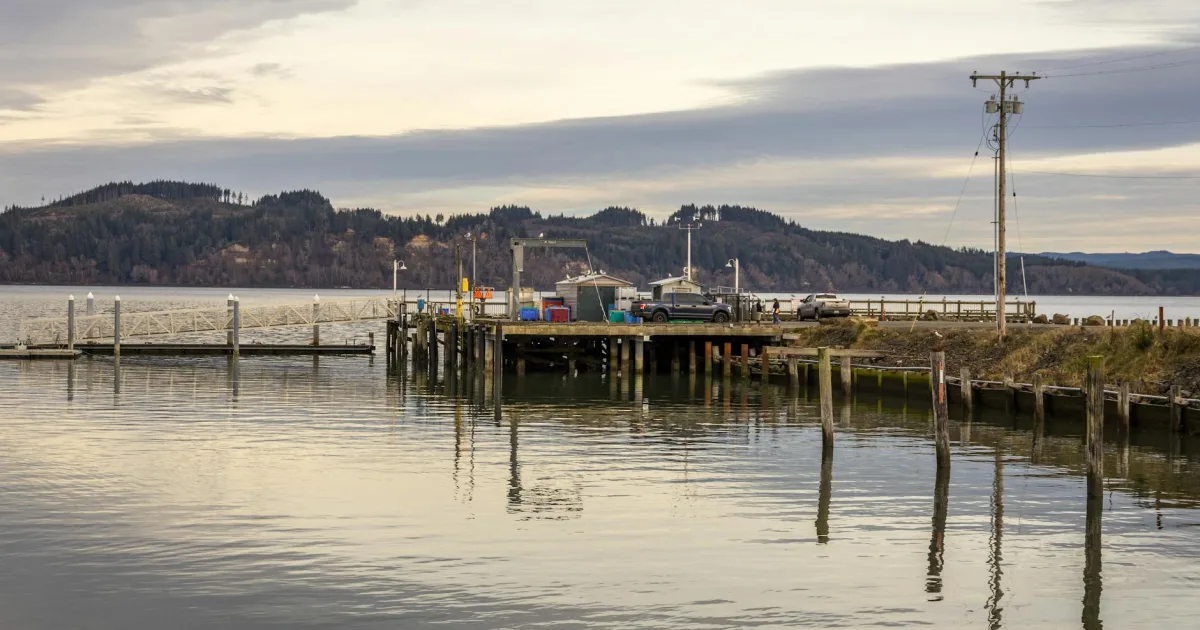
Trip from Bellingham, WA to East Port Orchard, WA

Drive Time

2h 54m

Distance

110.4 mi

178 km

Drive Score

8/10

Great drive

Same Day?

Yes, doable

Fuel Cost

$23

one way

Downtown East Port Orchard, WA, WA

Photo: William Jacobs

Trip Overview

The drive from Bellingham, WA to East Port Orchard, WA covers 110.4 miles and takes about 2h 54m behind the wheel. This route is realistic as a one-day drive if you keep your stops efficient.

The route leans on I 5, Fauntleroy - Southworth Ferry, Southeast Sedgwick Road for much of the mileage, and the overall profile is highway-focused drive. The longest uninterrupted segment is about 89.4 miles on I 5. At current regular gas prices, budget about $23.17 one way before food or hotel costs.

Trip Pace

Same-day drive is realistic

A same-day return is realistic if you keep stops short.

Break Rhythm

1 planned break

A short stop every 2 to 3 hours is enough for this drive.

Midpoint

55.2 miles from Bellingham, WA

A natural place for your longest stop of the day , about 1h 8m into the drive .

Drive Character

This is a 2h 54m highway drive covering 110.4 miles, with most of the trip on I 5 and Fauntleroy - Southworth Ferry. The longest continuous stretch is about 89.4 miles on I 5.

Most of the miles stay on highways, which makes pacing and fuel planning easier than turn-by-turn city driving.
There are about 24 navigation steps in the underlying route data, so the final approach matters more than the middle miles.
I 5 is the longest continuous segment at about 89.4 miles.

How Hard Is This Drive?

This is a straightforward highway drive that stays mostly on I 5 and Fauntleroy - Southworth Ferry. You will hit about 13 points where you need to pay attention to lane position or signs. The trickiest moment comes around 0.7 miles in near West Champion Street.

Route Complexity 6/10

Moderate - straightforward overall, but long enough or busy enough to require pacing

This drive requires moderate attention. Across 110.4 miles you will encounter 13 spots where lane choice or exit timing matters. Not difficult for experienced highway drivers, but worth previewing the tricky sections before you go.

Where does it get tricky?

The main spots that need attention: at 0.7 miles (West Champion Street): Navigation decision point; at 1.6 miles: Complex interchange - multiple decisions in a short stretch; at 91.2 miles: Exit ramp - move to the correct lane early. Lane positioning matters here. Multiple destination signs - pick the right one.

Critical Maneuvers

5 of 13 key points

These are the spots where you need to pay the most attention. Preview them before you drive.

5
0.7 mi into trip | ~1m in | West Champion Street

Turn left onto West Champion Street

Navigation decision point

6
1.6 mi into trip | ~4m in

Take the ramp toward I 5 South: Seattle

Complex interchange - multiple decisions in a short stretch

Toward I 5 South: Seattle
8
91.2 mi into trip | ~1h 51m in

Take the exit toward West Seattle Bridge, Columbian Way

Exit ramp - move to the correct lane early. Lane positioning matters here. Multiple destination signs - pick the right one

Use the slight right lane. Exit 163A Toward West Seattle Bridge, Columbian Way
6
91.4 mi into trip | ~1h 51m in

Keep slight right at fork toward Spokane Street, West Seattle Bridge

Highway fork - watch signs carefully. Multiple destination signs - pick the right one

Toward Spokane Street, West Seattle Bridge
6
107.7 mi into trip | ~2h 48m in | Long Lake Road Southeast

Turn right onto Long Lake Road Southeast

Lane positioning matters here

Use the none lane.

Main Roads

Road Distance Duration
I 5 89.4 mi 1h 46m
Fauntleroy - Southworth Ferry 4.8 mi 29m
Southeast Sedgwick Road 4.7 mi 8m
Fauntleroy Way Southwest 3.7 mi 10m
West Seattle Bridge 2.2 mi 3m
Southeast Salmonberry Road 1.4 mi 2m
Harris Road Southeast 0.8 mi 1m
West Magnolia Street 0.5 mi 1m
Longest stretch: I 5 — 89.4 mi, about 1h 46m

Turn-by-Turn Driving Directions

Step-by-step road directions between Bellingham, WA and East Port Orchard, WA.

1

Start on Dupont Street

0.5 mi · 1 min · Dupont Street
2

Continue on Prospect Street

0.2 mi · 37 sec · Prospect Street
3

Turn left onto West Champion Street

352 ft · 11 sec · West Champion Street
4

Continue on West Magnolia Street

0.5 mi · 1 min · West Magnolia Street
5

Turn right onto Ellis Street

0.1 mi · 26 sec · Ellis Street
6

Turn left onto Lakeway Drive

0.2 mi · 48 sec · Lakeway Drive
7

Take the ramp

0.3 mi · 32 sec
Toward I 5 South: Seattle
8

Merge onto I 5

89 mi · 1 hr 46 min · I 5
Use the none / straight / slight right lanes.
9

Take the exit

0.1 mi · 19 sec
Exit 163A Toward West Seattle Bridge, Columbian Way Use the slight right lane.
10

Keep slight right at fork

0.4 mi · 50 sec
Toward Spokane Street, West Seattle Bridge
11

Continue on West Seattle Bridge

2.2 mi · 3 min · West Seattle Bridge
Use the none lane.
12

Continue on Fauntleroy Way Southwest

3.7 mi · 10 min · Fauntleroy Way Southwest
Use the straight / right lanes.
13

Keep slight right at fork onto Southwest Barton Street

171 ft · 2 sec · Southwest Barton Street
14

Turn slight right onto Fauntleroy Ferry Terminal

0.1 mi · 12 sec · Fauntleroy Ferry Terminal
15

Turn straight onto WA 160

4.8 mi · 29 min · Fauntleroy - Southworth Ferry
16

Continue on WA 160

0.3 mi · 1 min · Southworth Ferry
17

Continue on WA 160

4.7 mi · 8 min · Southeast Sedgwick Road
18

Turn right onto Long Lake Road Southeast

0.5 mi · 57 sec · Long Lake Road Southeast
Use the none lane.
19

Turn left onto Southeast Salmonberry Road

0.8 mi · 1 min · Southeast Salmonberry Road
20

Enter roundabout onto Southeast Salmonberry Road

93 ft · 1 sec · Southeast Salmonberry Road
21

Continue on Southeast Salmonberry Road

0.6 mi · 1 min · Southeast Salmonberry Road
22

Turn right onto Harris Road Southeast

0.8 mi · 1 min · Harris Road Southeast
23

At end of road, turn left onto McKinley Place Southeast

292 ft · 12 sec · McKinley Place Southeast
24

Arrive at destination

McKinley Place Southeast

Trip Plan

Morning Departure

Leave by 9 AM and you'll arrive before lunch.

Evening Departure

Even a 4 PM departure gets you there before dark in summer.

You can normally do this drive in one day.
Plan roughly 1 meaningful break for fuel, food, and rest.
The halfway point lands around 55.2 miles from Bellingham, WA, or about 1h 8m into the drive.
The longest continuous stretch on this route runs about 89.4 miles.

This is a comfortable same-day trip.

Departure

Before you leave

Start with fuel, water, and navigation already sorted so the first hour feels easy.

First stop

Around 80 miles or 1h 38m in

Use this first pause for coffee, a restroom break, and a quick traffic check ahead.

Halfway reset

Around 55.2 miles or 1h 8m in

This is the best place for your longest stop, a real meal, and a full fuel check.

Final approach

Final hour starts around 1h 50m

Traffic, exits, and arrival timing usually matter more near East Port Orchard, WA than in the middle of the route.

Before You Leave

+

Open the route before leaving Bellingham, WA so your first major turns are already loaded.

+

Leave with enough water and a charging cable within reach, not packed away.

+

Check your fuel range against the first long segment, especially if you are starting outside city service areas.

Day 1

Settle into the route from Bellingham, WA

This is one driving day of about 110.4 miles and 2h 54m.

Your first comfortable stop window is around 80 miles from Bellingham, WA.
This route can stay practical as a one-day drive if traffic stays reasonable.
Plan about 1 real break rather than only quick fuel stops.
The longest stretch is on I 5 for about 89.4 miles.

Where to Stop

Rest stops, refuel points, and overnight suggestions along this route.

Halfway Point

Midpoint

About 55.2 mi from Bellingham, WA · 1h 8m into the drive

Mid-route town

Meal stop

Kenmore, WA

55 mi into the route

Best for: Lunch, fuel, and a longer reset

This sits close to the middle of the route, so it works well for the longest stop of the day.

Pacing Suggestions

Seattle, WA

Fuel and coffee

A short stop after about 80 miles helps settle the day before fatigue starts building.

Kenmore, WA

Meal break

The midpoint is around 55.2 miles from Bellingham, WA, which is a good place for a longer meal and fuel stop.

Before the longest stretch

Fuel check

Top up before I 5 if your tank is already low. That segment runs about 89.4 miles.

Arriving in East Port Orchard, WA

The final approach into East Port Orchard, WA usually feels slower than the middle of the drive, so avoid planning your tightest schedule at the very end.

Try to arrive with enough fuel left to skip an immediate station stop unless you already know the area around East Port Orchard, WA.

These stop ideas are pacing suggestions — the exact town or exit can change with traffic, hotel plans, and fuel range.

Fuel & Cost

Regular Gas

$23.17 one way

$46.34 round trip

$5.33/gal 25.4 MPG avg 39 kg CO2
Fuel Type $/gal One Way Round Trip
midgrade $5.57 $24.20 $48.39
premium $5.77 $25.08 $50.17
diesel $5.64 $24.53 $49.05

No toll roads detected on this route.

Estimated Trip Cost (one way, 1 person)

Fuel

$23

Meals

$25–$50

Total

$48–$73

Rough estimate based on US averages. Hotel $80–$140/night, meals $25–$50/day.

Estimated CO2 emission: 38.6 kg one way. Prices: EIA weekly data, 2026-04-06.

Driving Electric?

About $12 in charging · 0 stops · 67% less CO2

Vehicle Type kWh Stops DC Fast Home Charge
Average EV 33.1 0 $11.59 $5.30
Efficient EV 27.6 0 $9.66 $4.42
EV Truck/SUV 44.2 0 $15.46 $7.07

Gas CO2

39 kg

EV CO2

13 kg (67% less)

This trip is well within single-charge range for most EVs. No charging stops needed if you start fully charged.

DC fast charging avg $0.35/kWh. Home charging avg $0.16/kWh. US grid CO2: 0.39 kg/kWh.

Travel Intel

Local time and weather at both ends of the drive

Current conditions at both ends of the drive. If you're planning ahead, check the forecast closer to your travel date.

Forecast data refreshed 2 days ago

Origin

Bellingham, WA

Afternoon in Bellingham on Saturday

Local time

3:09 PM

PDT

Current temp

40°F

Forecast unavailable right now

PDT Live forecast

Destination

East Port Orchard, WA

Afternoon in East Port Orchard on Saturday

Local time

3:09 PM

PDT

Current temp

38°F

Forecast unavailable right now

PDT Live forecast

Along the Route

38°F

Kenmore, WA

55 mi in

Seasonal Notes

Summer travel usually means heavier construction, hotter rest stops, and busier weekend traffic around major cities.

Winter travel shortens daylight, so a route that looks manageable on paper can feel much longer after dark.

Holiday weekends tend to make both departure and arrival windows slower than the raw route time suggests.

Time zone

Same local time

Origin and destination are on the same clock, so arrival timing is easier to judge at a glance.

Temperature spread

2 degrees cooler at arrival

A meaningful temperature swing is a good cue to rethink layers, water, and how soon you want to arrive.

Road read

2h 54m on the road

Use the two city cards together: check the sky where you start, then compare it with the local time and temperature at arrival.

Frequently Asked Questions

The drive from Bellingham, WA to East Port Orchard, WA covers 110.4 miles and takes about 2h 54m without stops. Add 15-30 minutes for a fuel or rest stop on longer drives.
The main roads are I 5, Fauntleroy - Southworth Ferry, Southeast Sedgwick Road. Most of the drive stays on highways, so watch for ramps and exits.
This is a comfortable same-day trip.
The midpoint is about 55.2 miles from Bellingham, WA. Look for rest areas, gas stations, or food options near the halfway mark.
At current regular gas prices, expect to spend about $23.17 one way. This estimate uses 25.4 MPG — your actual cost will vary with your vehicle's fuel efficiency and current gas prices.
Leave by 9 AM and you'll arrive before lunch. Even a 4 PM departure gets you there before dark in summer.
Plan about 1 meaningful break for fuel, food, or rest. A short stop every 2 to 3 hours is enough for this drive.
This drive requires moderate attention. Across 110.4 miles you will encounter 13 spots where lane choice or exit timing matters. Not difficult for experienced highway drivers, but worth previewing the tricky sections before you go.
The main spots that need attention: at 0.7 miles (West Champion Street): Navigation decision point; at 1.6 miles: Complex interchange - multiple decisions in a short stretch; at 91.2 miles: Exit ramp - move to the correct lane early. Lane positioning matters here. Multiple destination signs - pick the right one.
The route from Bellingham, WA to East Port Orchard, WA does not surface many named destination signs beyond the main corridor.

Was this route helpful?

Thanks for your feedback!

Your tip has been submitted. Thanks!

/500

Explore More

Explore more options from Bellingham, WA or browse trips ending in East Port Orchard, WA.

Looking for more statewide routes? Browse WA road trips.

Explore maps for Bellingham, WA or East Port Orchard, WA on MapSof.net.